Showing posts with label date night. Show all posts

Tuesday, August 18, 2015

Grass Fed Flat Iron Steak with Green Chile Adobo

 Raise your hand if you like steak! asdtyyugaasdr. That was me trying to type with one hand, 'cause my other hand was still in the air. #hilarious. Raise your hand if you like steak, but are concerned about the environmental impacts, increasing antibiotic resistance, and general health concerns of eating too much conventional red meat due to run-of-the-mill confinement beef production! Ok, I promise I will stop making you raise your hand now. I will just get to my point: Grass-fed beef is better for the environment, better for your body, and better for the cows, but maybe not so great for the taste buds if you don't know what you're doing. Because grass-fed beef has less fat in it, you need to cook it at a lower temperature and for less time than conventional beef or it will dry out and lose flavor. You also need to be okay with eating rare or medium-rare beef, as medium or higher just doesn't turn out that great (trust me, I tried it... miserable failure).

There is one other downside to grass-fed beef: the price tag. It's expensive. But if you focus on cheaper cuts of meat, you can totally make a nice meal for an at-home date night, which will still be way cheaper than going out. So with that in mind, go grab a nice flat iron steak from your local grass-fed ranch, some craft beers or a bottle of red wine, and get ready to sit down to a delicious date night dinner you can feel good about.


First, place a thawed grass-fed flat iron steak on a cutting board and pat both sides dry with paper towels. Season both sides with Kosher salt and freshly ground black pepper. Cut steak in half, and let sit at room temperature for 20 minutes.


In the meantime, add butter and extra-virgin olive oil to a cast iron or stainless steel skillet, and turn to medium-high heat. Let the skillet preheat before adding your steaks. The oil/butter combo should start to shimmer when it is ready. Carefully add your steaks. Cook for three minutes, then flip over and cook for three more minutes.


Using tongs, hold each steak upright side by side and cook all four sides, for about 30 seconds on each side.

Once all four sides are browned, place the steaks on a clean cutting board, sprinkle them with garlic powder, and let them rest for five to ten minutes. This might be the most important part to cooking meat. Yes, I know it smells uh-may-zing and you just want to scarf it down while it's nice and hot, but resting meat is crucial if you don't want to bite into a hockey-puck-like substance. Resting allows the muscle fibers of the meat to relax and reabsorb the juices. If you cut into it before this happens, all the juice escapes its meaty confines and then you are sad. Anyway, once they have properly rested, cut the steaks into strips, slicing against the grain of the meat, to reveal your gorgeous medium-rare interior. Ahhhh.


Transfer the steaks to their serving plates, and drizzle with Green Chile Adobo. We enjoyed ours with a big mixed summer salad and roasted organic red potatoes, along with a bottle of Shiner White Wing for a wonderful weekend dinner. Yum!


Make it work for you
This is one that you will have to make right before you eat. However, it goes very quickly, with a total of about eight minutes of cooking time. The rest is an opportunity to make your sides, set the table, do dishes, etc., which allows for easy prep and clean up, especially if you've already made your Green Chile Adobo. So this recipe is easily doable any night of the week.

Grass-fed Flat Iron Steak with Green Chile Adobo

3/4-1 lb grass-fed flat iron steak
Kosher salt and freshly-ground black pepper
1 tablespoon butter
1 tablespoon extra virgin olive oil
Garlic powder
Green Chile Adobo

Place steak on cutting board and pat both sides dry with a paper towel. Season both sides with Kosher salt and freshly-ground black pepper. Let set at room temperature for 20 minutes.

Put butter and olive oil in cast iron or stainless steel skillet on stove, and turn to medium-high heat. Once oil is shimmering, place the steaks in the pan and cook for three minutes. Flip and cook for three more minutes. Using tongs, hold both steaks thin side down on the pan for 30 seconds. Rotate and cook the next side for 30 seconds. Repeat until all sides are browned.

Place steaks on a clean cutting board. Sprinkle with garlic powder to taste. Tent with aluminum foil and rest for 5-10 minutes. Cut into 3/4-1 inch slices, cutting against the grain. Transfer steaks to serving plates, and drizzle with Green Chile Adobo to taste.

Printer friendly recipe
 

Sunday, July 12, 2015

Scallops with Creamy Braised Leeks

So, something very exciting happened last week. After working second shift for over two years, I finally got the opportunity to switch to first shift! I know it's going to absolutely shock my parents to hear this, but I'm actually much more of a morning person. When I was a teenager, I could sleep til 1:00 pm with the best of 'em. But working as a barista in college really converted me to be an early riser. Those late night second shift hours were really starting to wear on me, so this has been a life change that I'm embracing whole-heartedly.

One of the perks of my new schedule is that it is much more conducive to joining a CSA. We picked up our second box of fresh local produce this week, which included leeks. This is a veggie I had never eaten, let alone cooked. So I reached for my trusty rusty Healthy Slow Cooker Revolution book, and whadya know, they had a couple recipes for leeks. Of course. The one that caught my eye involved scallops, one of my most favorite foods ever, and called for some white wine. So I knew that along with a side salad, it would be perfect for a nice, easy Saturday night dinner with the hubs, and it was. Everything was really simple to throw together, and the two-hour cook time was a perfect opportunity for me to get started on the Portuguese Baked Eggs that I was serving for family brunch the next morning.

This delicate dish has a taste that is reminiscent of a light clam chowder, making it great year round. Ok, here ya go!


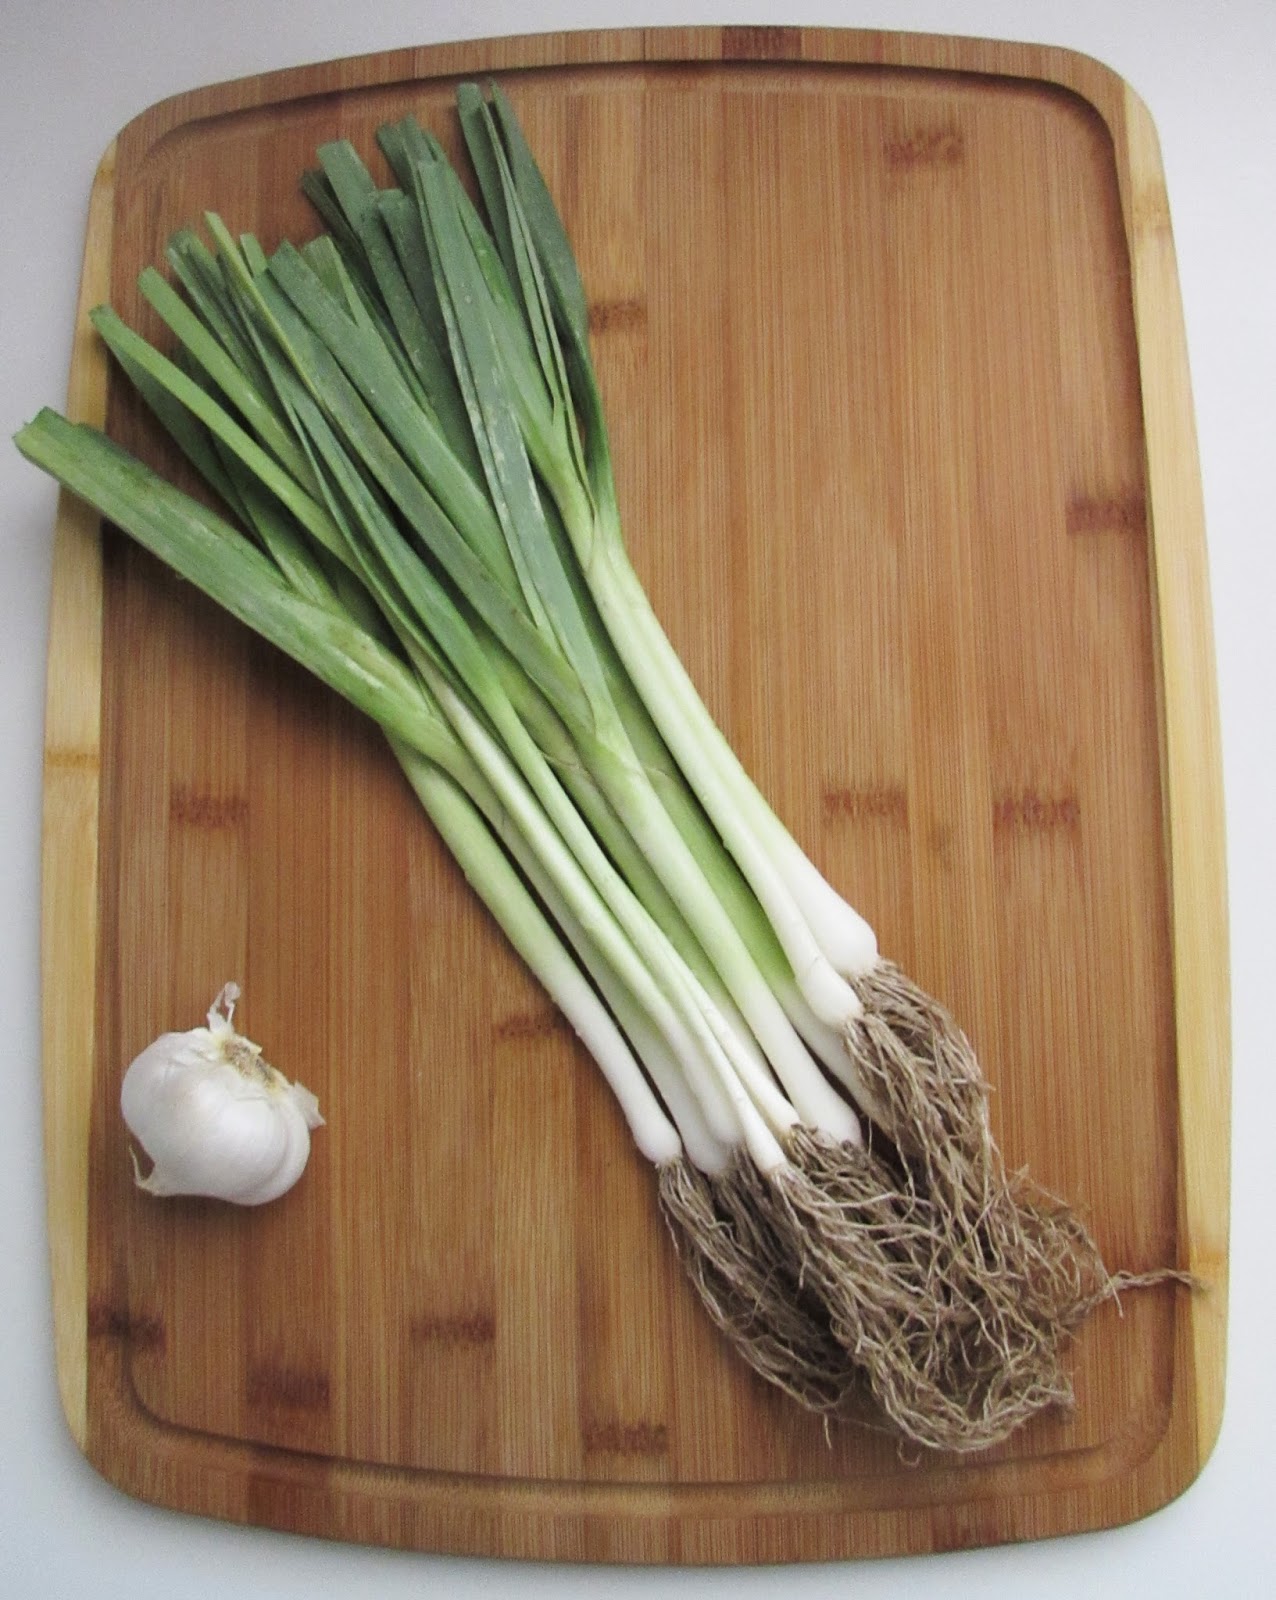
First, slice up your leeks and mince your garlic. The leeks we received were pretty small, like the size of a green onion. We also only got about half a pound, so I had to improvise a bit. I grabbed another full-size leek from the grocery store, which weighed about half a pound, so I then had the full pound of leeks. I left the small leeks intact and thinly sliced them. I sliced the big one into quarters lengthwise, then thin slices, so everything would be about the same size. This ensured even cooking. Once you have the whites and light green parts sliced, you can save the green tops in the freezer to make stock.


Then add your leeks and garlic to a microwave-safe bowl, and nuke it until everything is softened. Dump it into your slow cooker, and stir in your wine (I used sauvignon blanc) and cream. Cook on low for two to three hours, until the leeks are tender.


Once the leeks are tender, but not mushy, season your scallops with salt and pepper, then add to your slow cooker. The recipe calls for sea scallops, but I used bay scallops, which are much smaller. Scallops are a bit pricey, and I didn't want to shell out for sea scallops (haha, get it??), which are more expensive at my grocery store. Since I knew they'd be getting cooked in a sauce anyway, I was less concerned with quality of taste and just got some frozen bay scallops, which ended up saving me about $10 compared to the fresh sea scallops at the meat counter. I knew that I'd have to cut the cooking time of the bay scallops about in half, since they are so much smaller. So if you go a similar route, make sure you start checking your thawed, seasoned scallops after about 15 minutes. Once they are done cooking, stir the cheese into the sauce and add salt and pepper to taste. Garnish with parsley, and enjoy!


Make it work for you
Much like Poached Salmon with Creamy Cucumber Dill Salad, this dish can easily fit into anyone's busy schedule. It is best eaten the day it's made. With little prep and a short slow cooking time, it can be done on a weekday or on a night off. The two-hour cook time gives you ample opportunity to do dishes, clean, prepare a make-ahead meal, or veg out and watch tv or read. The scallops elevate the dish, making it ideal for a relaxing celebratory dinner or date night.

Scallops with Creamy Braised Leeks

1 pound leeks, white and light green parts only, halved lengthwise, sliced thin, and washed thoroughly
4 garlic cloves, minced
1 teaspoon extra-virgin olive oil
1/3 cup heavy cream
1/4 cup dry white wine
1 1/2 pounds large sea scallops, tendons removed
Salt and pepper
1/4 cup grated Pecorino Romano cheese
2 tablespoons minced fresh parsley

1. Microwave leeks, garlic, and oil in bowl, stirring occasionally, until leeks are softened, about 5 minutes; transfer to slow cooker. Stir in cream and wine. Cover and cook until leeks are tender but not mushy, 2 to 3 hours on low.
2. Season scallops with salt and pepper and nestle into slow cooker. Spoon portion of sauce over scallops. Cover and cook until sides of scallops are firm and centers are opaque, 30 to 40 minutes.
3. Transfer scallops to serving platter. Stir Pecorino into sauce and season with salt and pepper to taste. Pour sauce over scallops and sprinkle with parsley. Serve.


Monday, June 22, 2015

Poached Salmon with Creamy Cucumber-Dill Salad

Well, I was in denial for most of our remarkably mild May, but summer is finally upon us in full force here in the Valley of the Sun. After schlepping around running errands all day in the triple-digit heat, I wanted to make something for dinner that was light but filling, and easy to throw together with minimal clean up. And boy, did this one score on all four points. Straight outta Healthy Slow Cooker Revolution (I warned you!), here is Poached Salmon with Creamy Cucumber-Dill Salad.


First, make an aluminum foil sling: Tear off about a foot and a half of aluminum foil, then fold it in half width-wise and line the bottom of your slow cooker insert with it. The sides should come up a few inches (see second photo); this will hold your poaching liquid and help moderate the cooking process. Mince your dill (save the stems!) and slice one lemon.


Place lemon slices in one layer on top of sling, then top with reserved dill stems. Gently pour wine (I used sauvignon blanc) into sling, then add enough water so that the liquid level is even with the top of the lemon slices. You don't want your salmon to be actually submerged in the liquid. Then go ahead and pour yourself a glass of wine, too. You have almost an entire bottle left to drink, better get started!


Next, I sliced a 12 oz salmon fillet length-wise so the two fillets are the same thickness throughout. This helps ensure even cooking. Season with salt and freshly ground black pepper and place the fillets skin side down on top of the lemon arrangement. Cover and cook on low for about one hour. At the 45 minute mark, start checking to see if the salmon is done. It should be opaque throughout and flake with the tip of a paring knife. Mine took 90 minutes to cook to medium (135 degrees F).


In the meantime, slice up your cucumber, then combine with the yogurt, lemon juice, and minced dill, and season with salt and pepper. Stick the cucumber salad in the fridge while the salmon finishes cooking.

When the salmon is opaque, flaky, and 135 degrees F, carefully remove the sling from the slow cooker. Transfer the salmon to a plate using a spatula, removing the dill stems and lemon slices. Serve with the chilled cucumber salad. I also added a nice kale side salad to our dinner, along with a slice of Sprouts bakery bread for a little treat. This plate of food kept us f.u.l.l. for the rest of the night. I know that gargantuan side salad is making the salmon look a little puny, but trust me, it was so big I could hardly finish it.


Make it work for you

Ok, so this is a recipe that can truly work for anyone and everyone. There's only a few minutes of prep to get the salmon cooking, then you can tackle the cucumber salad. I had time to prepare that, on top of chopping up some veggies for our kale salad, and slicing a few pieces of bread, AND I got all the dishes done AND took care of some laundry while the salmon was poaching. By the time we got done eating, all we had to do was stick our dinner dishes in the dishwasher and wash the slow cooker insert, which was crazy easy thanks to the foil sling. We were then free to enjoy the rest of our evening. This dish is perfect for date night (I mean, think of all that wine that's left to drink, wink wink) or weeknight.

**Note: If cucumbers aren't your thing, I don't quite understand you (hehe), but you could definitely make this without the salad. Sprinkle the minced dill on top of the salmon when it's done cooking. Or omit the dill altogether. Or make the yogurt sauce and dip your salmon in it. So many options!

Poached Salmon with Creamy Cucumber-Dill Salad
 from America's Test Kitchen Healthy Slow Cooker Revolution
1 lemon, sliced 1/4 inch thick, plus 1 tablespoon juice
2 tablespoons minced fresh dill, stems reserved 
1/4 cup dry white wine
2 (6-ounce) skin-on salmon fillets, 1 to 1 1/2 inches thick
Salt and pepper
1/4 cup 2 percent Greek yogurt
1 cucumber, peeled, halved lengthwise, seeded, and sliced thin

1. Fold sheet of aluminum foil into 12 by 9-inch sling, press widthwise into slow cooker. Arrange lemon slices in single layer in bottom of prepared slow cooker. Scatter dill stems over lemon. Pour wine into slow cooker, then add water until liquid level is even with lemon slices (about 1/4 cup water). Season salmon with salt and pepper and place skin side down on top of lemon. Cover and cook until salmon is opaque throughout when checked with tip of paring knife and registers 135 degrees (for medium), about 1 hour on low.
2. Meanwhile, whisk yogurt, lemon juice, and minced dill together in medium bowl. Stir in cucumber and season with salt and pepper to taste.
3. Using sling, transfer salmon to baking sheet. Gently lift and tilt fillets with spatula to remove dill stems and lemon slices and transfer to plates; discard poaching liquid. Serve with salad.

Printer friendly recipe